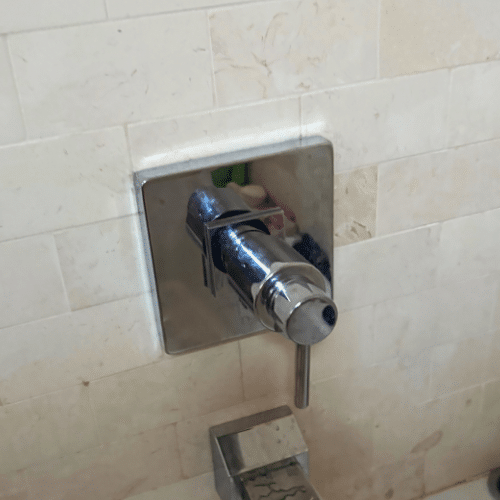
Wall access · New fixtures · Rough-in to finish
Shower & tub replacement plumbing.
New handles, a worn valve, a new tub or a complete walk-in shower each call for different plumbing work. Here is how we plan the connections, open the right area and finish a bathroom that works as well as it looks.
Long story short
We handle the plumbing for replacement showers and tubs, including the valve, water supply and drain connections. Bring us the fixture and layout you're considering. We'll help establish what can stay and what needs moving before the room is opened up.
Jump to: What are you changing · A new valve. A plan for the old holes · Same shower. Different controls · Build around how you use it
Skip the read? Book a visit or text (385) 766-8935.
Choose the job
What are you changing?
Start with the part of the bathroom you want to change. Each option shows what happens behind the finish.
Keep a sound valve. Fit compatible trim.
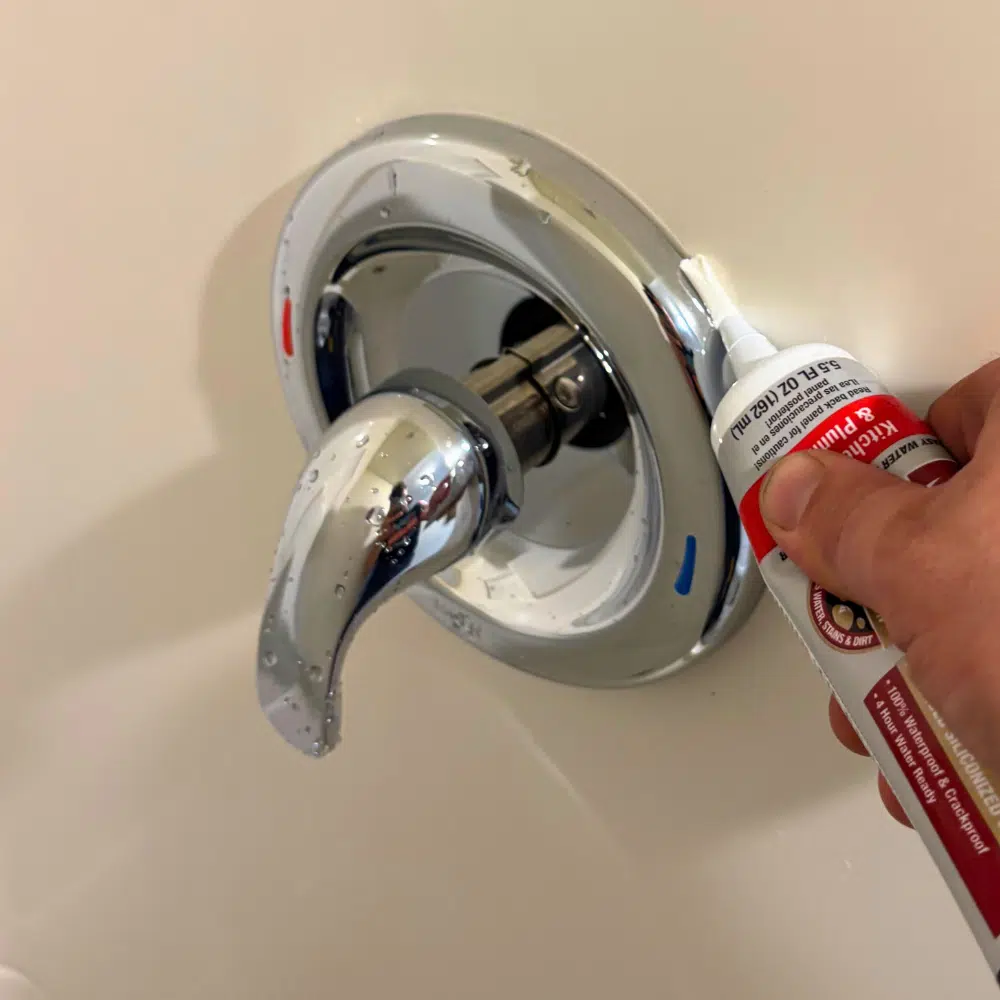
The handle and cover plate are the trim. Matching new trim can refresh a shower without disconnecting its pipes. We identify the valve family first because trim fits specific bodies and cartridges.
If it also drips or turns poorly, service the working parts while the trim is off.

Replace the body. Reconnect the pipes.
A damaged body, unavailable repair parts or a control upgrade can call for a new valve. We open access, isolate the supplies and disconnect the old body. The new valve is supported at the right depth for the finished wall.
The hot and cold inlets, shower riser and tub-drop connection are checked while exposed. We plan the access patch with the valve work.
Plan the water and drain as one job.
A new fixture can change the drain location, valve position and wall layout. Select the tub or shower base, matching drain, valve and trim before rough-in. Those choices establish where the concealed connections belong.
We inspect the existing trap and drain, plan access and coordinate setting, waterproofing and finish work with the remodel team.
From two handles to one
A new valve. A plan for the old holes.

The old hot and cold bodies come out, and both supplies connect to the new mixing valve. We position the control, secure its body and reconnect the shower riser and tub drop. The finished wall sets the installation depth so the trim and handle fit correctly.
A remodel plate can cover the old handle openings and access cut when its size and shape suit the wall. Retiling gives more freedom to move the control and restore the surface. Access from the room behind the shower can reduce the tile work.
Choosing the new controls
A pressure-balanced valve helps steady the mix when supply pressure changes. A thermostatic valve responds to mixed-water temperature; some systems add a separate volume control. We select the valve and matching trim together, then set and measure the outlet temperature at completion.
Read more: Delta: MultiChoice controls and compatibility ↗ · Moen: PosiTemp temperature limit stop ↗
Inside the shower valve / Explore in 3D
Same shower.
Different controls.
Choose the handles that look familiar. Open the cutaway, turn the hardware and select a part to learn its job.
Loading the valve assembly…
Single handle
One handle brings the supplies together.
Match the new trim to the valve behind the wall. The model shows the cartridge, retaining parts and body that determine compatibility.
Planning the change
Changing to another valve system involves the body and pipe connections behind the finish.
See the parts from our repairs →- Cartridge & seals
- The 1222 cartridge contains the shutoff, mixing and pressure-balancing components. Its oval side seals separate the supply passages.
- Brass valve body
- The body connects to the four pipes and holds the cartridge. This model uses the geometry published by Moen for its 2520 valve.
- Retaining clip
- The U-shaped clip locks the cartridge into the valve body against water pressure. It lifts out for cartridge service.
- Handle stem
- The handle attaches to this brass shaft. Turning it operates the cartridge.
- Water connections
- Hot and cold enter opposite sides. The upper outlet serves the shower; the lower outlet serves the tub spout.
Two handles
Each handle controls its own supply.
A two-handle valve leaves two openings in the wall. Plan how the new control and wall finish will fit those openings.
Planning the change
Include access to both supply connections and the outlet when pricing a conversion.
See the parts from our repairs →- Hot stem & valve
- Turning the handle moves a rubber washer toward or away from the seat inside the body. A flattened washer or a pitted seat can let the spout keep dripping after the handle is closed.
- Cold stem & valve
- The cold side has a second stem and washer. Water leaking around a handle comes from the stem seal or packing; a worn shutoff washer lets water through to the outlet.
- Connected valve body
- The hot and cold valves feed a shared passage in this brass body. The body stays connected to the pipes when the removable stems and seats are serviced from the front.
- Handles & flanges
- The cross handles turn the stems, and the chrome flanges cover the wall openings. Handle splines, stem length and flange threads determine which replacement trim fits.
- Mixed-water outlets
- Mixed water leaves the center of the body. Pulling up the tub-spout diverter blocks the spout opening so water travels up the shower pipe. Wear at that diverter can leave the spout running during a shower.
Three handles
The middle handle chooses the outlet.
Three handles mean three existing wall openings. A conversion needs a plan for the new valve, outlets and finish repair.
Planning the change
Choose the finished layout before the wall is opened so the plumbing and surface work agree.
See the parts from our repairs →- Hot stem & valve
- The hot stem carries a rubber washer that closes against a seat in the body. A damaged seat can quickly chew up a new washer, so both surfaces matter in a drip repair.
- Cold stem & valve
- The cold stem controls the second supply. Its washer stops flow to the outlets; its stem seal keeps water from escaping around the handle. The leak location helps identify which part needs attention.
- Center diverter
- The center stem switches the mixed water between the tub and shower passages. Worn diverter seals can let both outlets run together even when the hot and cold valves are working properly.
- Three handles & flanges
- The center handle operates the diverter; the outer handles control the supplies. Matching trim depends on the stem and flange connections behind these handles.
- Tub & shower branches
- The upper connection feeds the showerhead and the lower connection feeds the tub spout. The center diverter chooses the path; the two outer handles shut the water off.
Two modern controls can work differently.
Modern showers can have separate temperature and volume controls, or a second handle for a handshower. Those belong to a mixing/transfer system. The older two-handle example here has one hot valve and one cold valve.
Read more: Moen: shower valve controls and handle motion ↗ · Pfister: multi-handle valves, stems and diverters ↗ · Delta: MultiChoice controls and compatibility ↗
Changing the tub or shower base
The drain decides a lot of the work.
- Replacing a bathtub
- The drain position, overflow height and tub shape determine the waste-and-overflow assembly. We connect it to the trap, support the tub and test the drain and overflow while the joints remain accessible.
- Tub to walk-in shower
- The tub waste assembly gives way to a shower drain and trap connection. We check the existing drain size, trap, vent and proposed flow, then choose the connection for the selected base or waterproofing system.
- Basement bathroom
- Moving a trap or buried drain can mean opening concrete. We establish the pipe route and elevation before choosing a drain location. Underground connections are tested and inspected before the slab is restored.
- Upstairs bathroom
- The drain has to fit between the floor framing. We plan its route with the fixture footprint and use access from below when needed. Structural changes are coordinated before cutting joists.
Match the drain to the waterproofing
A tiled shower needs a compatible drain connection to its waterproofing. A clamping drain works with a liner; a bonding-flange drain joins a surface membrane. Curbless showers also need floor height and drainage slope worked out before the base is built.
Read more: Oatey: bathtub waste and overflow connections ↗ · Schluter: shower waterproofing and drain assemblies ↗
Choose fixtures before rough-in
Build around how you use it.
Head + handshower
Choose whether they run separately or together. That sets the transfer-valve configuration and water demand. Put the controls where you can reach them before stepping into the spray.
A deeper soaking tub
Usable fill volume and filler flow affect fill time and hot-water demand. Confirm the drain position and the filler reach before the pipes go in.
Deck or floor-mounted filler
A Roman-tub faucet mounts on a deck; a freestanding filler anchors to a floor rough-in. Connection, support and access for future service are part of the installation.
From open wall to first shower
How the work comes together.
Choose & expose
Confirm fixture models, control locations, drain position and finished wall thickness. Isolate the water, remove the old plumbing and inspect the exposed pipes.
Rough in & test
Install and secure the concealed valve, supplies and waste connections. Coordinate tub/base setting with the drain hookup. Test the pipes and complete required inspections before closing the wall or slab.
Finish & run
After waterproofing and finishes are ready, install the handles, plates, spout and head. Set the temperature limit, check each outlet and run the drain. For tubs, test the overflow and watch the waste connections while a full tub empties.
What belongs in the quote
Plumbing, access and putting it back.
The price follows the work: replacing a valve in its current location, relocating pipes, opening concrete or fitting a new drain take different amounts of labor. Worn piping uncovered during access can add another repair.
We spell out the plumbing work, fixture supply and access openings, then agree on who handles demolition, waterproofing, tile and wall repair. Share fixture model numbers before ordering so we can check the connections and explain the complete job.
Useful answers
Common questions.
Can an old two-handle shower become a single-handle shower?
Yes, with a suitable new valve and a plan for connecting the supplies and covering or repairing the old openings. A remodel plate can sometimes cover the work; a full bathroom remodel may incorporate it into new wall finishes.
Should the valve be replaced while the wall is already open?
That is a useful time to evaluate its condition, parts availability and whether it provides the controls you want. Open access also lets us check the surrounding pipe connections and supports.
Can I buy the tub and trim before the plumber visits?
Share the model numbers first. Drain location, tub support, filler connections and valve compatibility can affect the installation. Reviewing them early helps avoid a fixture that needs unexpected piping or finish changes.
Sources & public guide record
Maintained by Mountain Man Plumbing · Utah Master Plumber, Lic. #12992295-5501.
- Moen: PosiTemp temperature limit stop ↗
- Delta: MultiChoice controls and compatibility ↗
- Oatey: bathtub waste and overflow connections ↗
- Schluter: shower waterproofing and drain assemblies ↗
- Moen: shower valve controls and handle motion ↗
- Pfister: multi-handle valves, stems and diverters ↗
- Moen 2520: original CAD and valve specifications ↗
Version 2026.09.10.1 · References checked 2026-09-10.
The price, in plain terms
What does the
price cover?
- Name the work.What's being repaired or installed, and what stays.
- Check what's included.Parts, labor, access, cleanup and any required permit.
- Settle the open questions.Extra work, exclusions and the warranty for this job.
A quote for shower or tub work should make the scope clear. Check who handles access and patching, whether any further diagnosis costs extra, and what happens if opening things up reveals more damage.
Found a lower number? Ask us why ours is different. Bring both descriptions of the work. Compare the equipment, repair scope and exclusions before deciding what the difference buys. A higher price alone doesn't prove a better job.
- What shower and tub repairs cost in Utah What changes the cost and what to ask before agreeing. On Utah Plumbing Prices, which we publish.
- Already have a quote? Check it Use our second-opinion tool to work through the job and the price you've been given.
- How plumbing pricing works Flat rate, hourly, dispatch fees, permits: what each one means for what you pay.
From our local guides
Older homes. New plumbing projects.
Our county-record analysis shows when the neighborhoods were built. The repair guides explain the fixtures, pipes and remodel work.


MOUNTAIN MAN PLUMBING / DIY