
You turn the water on to fill the tub and the showerhead spits at the same time. Or you pull the knob for a shower and half the water keeps pouring into the tub. Either way the diverter is not sealing, and that is usually a cheap part.
The trap is that "the diverter" isn't one thing. It lives in one of three places depending on how your shower was built, and the repair is completely different in each. Find yours before you buy anything.
This one can wait. A diverter that won't send water up is a comfort problem, not a damage problem. It only becomes one if you force the spout off and crack the fitting behind the tile, which is why removal has a section of its own below.
Where your diverter is
Among people who said which kind they had.
Which of these you have decides the whole repair.
- Three handles in a row? The middle one is the diverter. It's a stem in the wall, like a faucet stem, and it's replaceable on its own.
- One or two handles, and a little knob sticking up on the tub spout? The diverter is inside the spout.
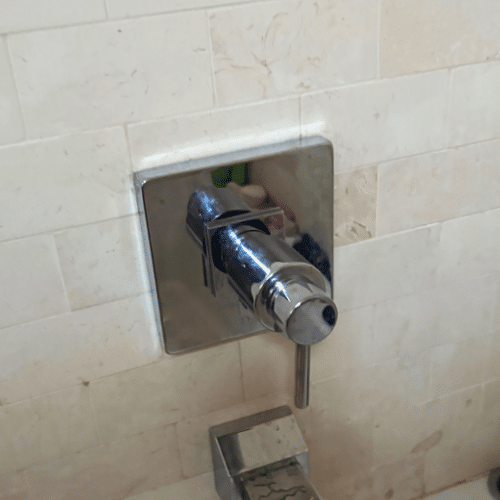
- One lever and no knob anywhere? The diverter is inside the valve, and you pull the handle out or turn it past a stop to engage it.
First, make sure it's actually the diverter.
Three other things get mistaken for this, and one of them isn't a fault at all.
| What you're seeing | What it usually is |
|---|---|
| Showerhead dribbles the whole time the tub is filling | The diverter. Keep reading |
| Head drips for a minute or two after you shut off, then stops | Nothing. The riser and arm are draining. No repair |
| Head runs weakly the whole shower, tub spout also running hard | Diverter, but check the drop pipe too. See the last section |
| Water runs from the spout with every handle off | Not the diverter. That's the mixing valve — see the shower valve guide |
The draining one catches a lot of people. Water sitting in the vertical pipe and the shower arm has to go somewhere when you shut the valve, and the only way out is back down and through the head. If it stops on its own within a couple of minutes and the tub isn't running, nothing is broken.
Don't buy a whole spout yet.
The mistake that costs the most here
What happens when the part gets bought before the diagnosis.
Three in ten people had already bought and installed something before asking for help, and roughly a third of those were no better off. Part of that is buying the wrong thing, but a lot of it is buying more than the job needed.
Here's the part most people miss. On a spout-mounted diverter, the bit that actually fails is usually a rubber cup washer on a plastic gate, and that gate is sold on its own. Moen publishes a replacement procedure for it and sells cup seal kits by spout material — 101237 for a metallic spout, 10644 for a non-metallic one — with the instruction that you replace the whole spout only if the seal kit doesn't resolve it. Their gate procedure is short: pull up on the lift rod while gently prying the tabs on the gate apart with a small flathead, then fit the new washer into the gate with the flat side facing out and the gate back into the bottom of the spout with the washer facing the wall.
If you have a three-handle setup, the diverter is a stem and it's also sold separately. Moen's two versions are easy to tell apart by eye: the pre-2010 part is 94543, about 3 inches long, a white plastic body with a brass stem, held in by a brass hex nut. The post-2010 part is 116719, about 2½ inches, a clear plastic shell with blue rubber seals, held by a copper retaining clip. Pull yours and match it.
Brands fail differently here than at the valve.
Brands named in diverter problems
Among people who named a brand.
Worth noticing if you also read our valve guide: the order changes. Moen leads on dripping cartridges, but Delta leads on diverters, and Price Pfister shows up here at nearly double its share of cartridge problems. If you have a Pfister tub/shower, the diverter is the part most likely to give you trouble.
Getting the spout off is where this goes wrong.
Almost half the people stuck on this repair weren't stuck on the diagnosis. They were stuck on removal, or they broke something taking the spout off. There are exactly two kinds of spout and you must know which you have before you pull.
Which spout you have
Among people who said how theirs attached.
Moen's instruction sheet gives the test in one sentence: look in the cut-out on the underside of the spout, up against the wall. A set screw in there means slip-fit — back it out with a 5/32" Allen wrench, then twist and pull the spout straight off. No set screw means it's threaded, and it comes off by turning the whole spout counterclockwise with a strap wrench.
Use a strap wrench, not pliers or a pipe wrench. A pipe wrench on a finished spout does two bad things: it destroys the finish, and if the spout is seized it transmits enough torque to twist the nipple or the drop pipe inside the wall. A cracked fitting behind the tile is a drywall job. A scratched spout is just ugly.
Two things that cause leaks on the way back in, both straight from Delta's own installation sheet:
- Chamfer the copper on a slip-fit. The spout seals on an O-ring that slides over the tube. A burr or a sharp cut edge nicks that O-ring and you get a slow leak behind the spout, into the wall, where you won't see it for months.
- Don't crank the set screw. Delta's wording on their universal adapter is blunt: overtightening can puncture the tube and cause a leak. Snug is the whole job.
If yours is soldered to a brass adapter, keep solder off the outside of the adapter near the O-ring groove. Delta warns that solder in or beside that groove lets water escape between the adapter and the spout and run backwards into the wall cavity. This is the failure that shows up as a ceiling stain below the bathroom months later.


When the diverter is fine and the head still dribbles.
About one in ten people with this complaint blamed low water pressure, and some of them were right — just not in the way they thought. A spout diverter is not a positive shutoff. It works by making the path to the tub harder than the path up the riser, so if the plumbing between the valve and the spout is restricted or wrong, water will take the easy way up to the head no matter how new your diverter is.
Delta's rough-in instructions are unusually specific about that run, and it's worth measuring before you spend anything else:
| Requirement | Delta's spec |
|---|---|
| Pipe material | Minimum 1/2" copper or 1/2" iron pipe |
| Drop length, valve to spout | No less than 8", no more than 18" |
| Fittings allowed | One 90° elbow only, in a straight drop |
| PEX | Explicitly not permitted for the tub spout drop |
| Nipple projection past finished wall | 1/2" to 1-1/4" |
PEX is the common modern offender. Insert fittings shrink the real bore well below what the outside of the tube suggests, and that restriction is exactly what pushes water up to the showerhead during a tub fill. If your bathroom was remodeled recently and the diverter has never worked properly, suspect the drop before you suspect the spout.
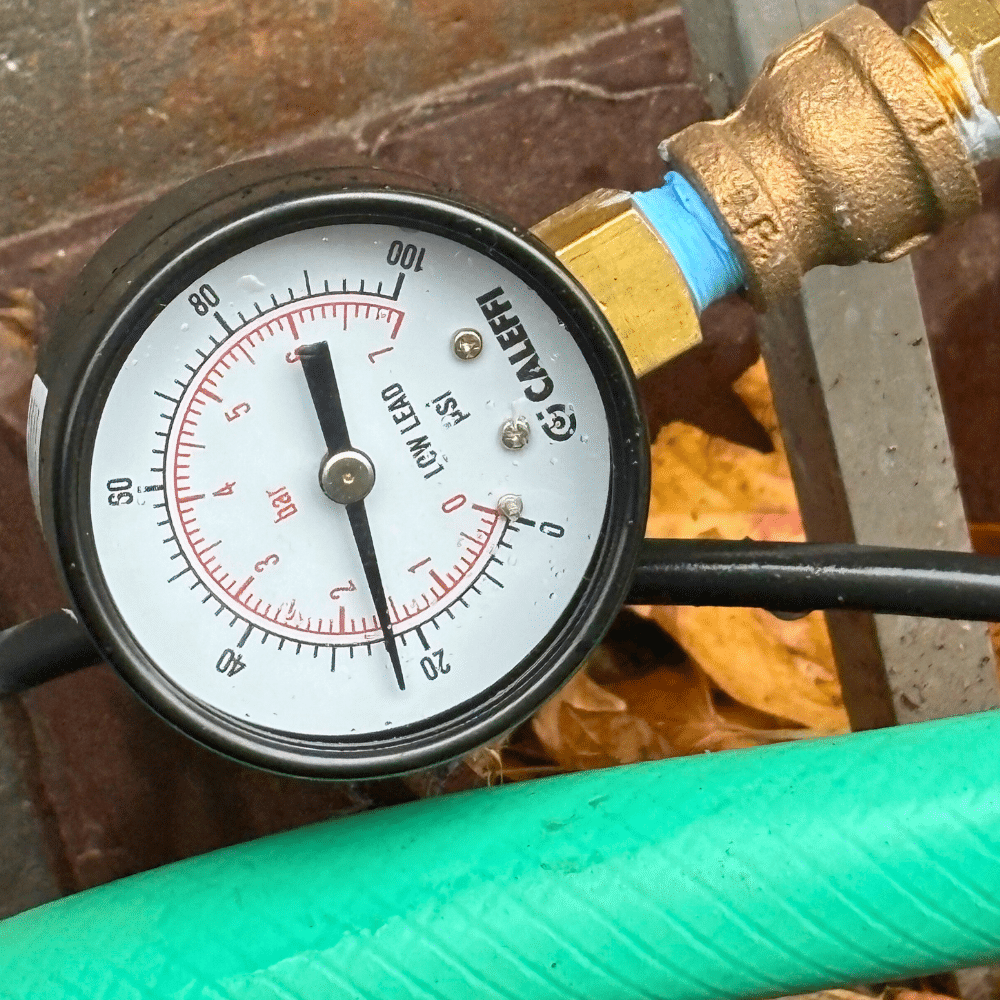
The other two causes are house pressure high enough to overwhelm a correct drop, and a valve installed upside down. Static pressure is a five-minute check with a gauge on a hose bib — our water pressure testing guide covers what the number should be. None of these three is fixed by a trip to the parts counter, which is the point.
After the water comes back on.
Shutting the main off and on again dislodges scale that has been sitting still for years, and it travels to whatever you just opened. Salt Lake City water runs hard — the city's water quality report puts total hardness around 184 ppm, roughly 8 to 12 grains per gallon — so there is plenty of it in an older line. If flow is bad on a brand-new part, pull it and flush into the tub before assuming the part is faulty.
Open the main slowly, with a faucet already open somewhere in the house. Then test properly: fill the tub, engage the diverter, and watch the spout while the shower runs. A little weep from the spout is normal on many designs. A steady stream is not.
Where to hand it over.
- The spout twisted the nipple or the drop pipe inside the wall.
- The nipple snapped off flush, or is rusted into the elbow.
- Water is showing up behind the tile, on the ceiling below, or at the base of the wall.
- The repair needs soldering inside a finished wall.
- It's a three-handle setup with a discontinued brand and no stem available — that usually means a new valve, not a new part.
A photo of the spout underside and the wall trim will get you a straight answer faster than another trip to the store.
How tub spout and diverter repair works ↗ · Shower valve repair ↗ · The shower drips: identify the valve ↗
Where the percentages come from: 1,452 homeowner questions about tub diverters and tub spouts posted to public plumbing forums, sorted by what each person described. They show how often each thing comes up among people seeking help, not how often it happens in every house, and because they count what people wrote down, each figure is a floor. Technical sources: Moen instruction sheet INS708, Moen tub spout diverter gate and cup seal documentation, and Moen two- and three-handle diverter part references; Delta 13/14 Series installation sheet and Delta Universal Tub Spout Adapter instructions; Salt Lake City Department of Public Utilities Water Quality Report. Every procedure, part number and figure here was checked against current manufacturer documentation.