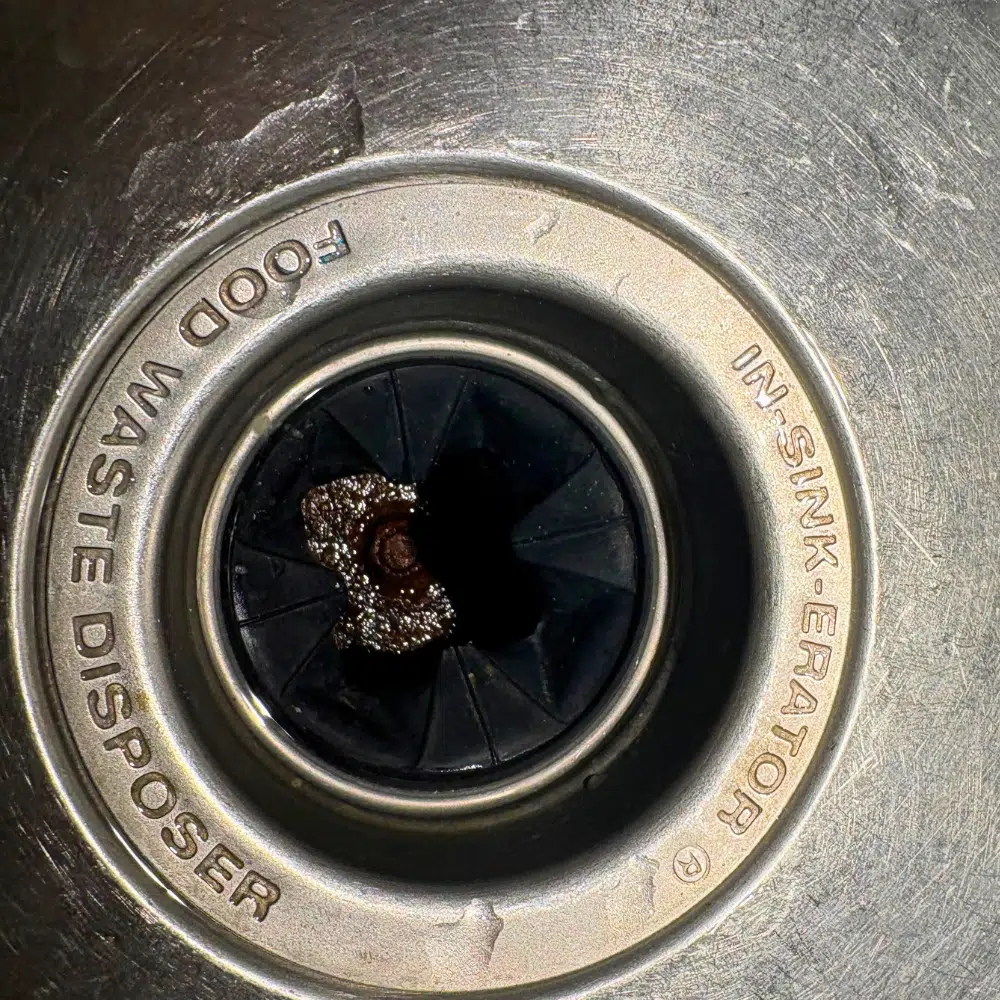
A hum means the motor is getting power and the grinding plate cannot move. Every extra second you hold that switch is the motor pushing against something solid with nowhere for the heat to go. Let go of it.
A humming disposal is usually free to fix. But "it hums" is only the most common of four different problems, and one of them means the unit is finished.
What's actually wrong with it
Of 106 people who described the symptom. Some described more than one.
If it's leaking, find out where first.
A third of disposal complaints are leaks, and where the water comes from decides whether this is a ten-minute job or a new unit. Dry everything, put paper towel underneath, run water, and look.
| Where the water appears | What it means |
|---|---|
| At the top, where the unit meets the sink | The sink flange seal. Re-seat it with fresh plumber's putty. Repairable |
| At the side, where the dishwasher hose or the drain elbow connects | A gasket or a loose connection. Repairable, and cheap |
| From the very bottom of the housing | The motor seal has failed and water is inside the motor. This one is not repairable. Replace the unit |
That last row is the one worth knowing before you spend an afternoon on it. There is no seal kit for the bottom of a disposal. Water coming from the base means it has already been getting into the motor, and the only fix is a new unit.
The free fix most people skip.
What people tried
Of 36 people who said what they had already attempted.
More people reached for a tool than pressed the button that costs nothing. Check the reset first, because a disposal that has tripped its overload will sit there dead or straining no matter how well you clear the jam.
InSinkErator's own description is precise enough to be useful: the overload protector is a small square red button on the bottom of the unit, facing the floor. If it has tripped, the button will be sitting about a quarter of an inch proud. Press it gently. If it won't stay in, the motor is still too hot — wait ten minutes and try again. On newer EZ Connect models there's no button to push; you switch it off at the wall or unplug it and let it cool for up to twenty minutes.
If the reset won't hold after a couple of tries, go look at the breaker panel before assuming the disposal is dead.


Freeing the jam without wrecking anything.
Power off at the wall switch first, and keep your hand out of the opening for the whole job — use a flashlight to look and long-handled tongs or pliers to retrieve. That comes straight out of the manufacturer's own safety instruction.
- Find the hex socket underneath. Dead center on the bottom of the unit, facing the floor. Your disposal shipped with a little silver crank-shaped wrench about four inches long. If it's long gone, a standard 1/4" Allen wrench is the same thing.
- Crank it both ways. Work it back and forth until it turns one full revolution, then keep going until it spins freely in complete circles in both directions. Partial movement means the obstruction is still in there.
- Use some force if you need to. InSinkErator says so directly, and explains why it's safe: the wrenchette is designed to bend before anything in the disposal breaks. That's a deliberate weak link.
- No socket on the bottom? Some units don't have one. The manual's alternative is to lever the grinding plate round with a wooden spoon handle from inside the opening — with the power off.
- Look and retrieve. Flashlight in, tongs in. Check the outer edge of the shredding plate where the teeth are; that's where things wedge.
- Then reset, then restore power and run cold water before you switch on.
Of the people who said what had actually gone in, three quarters named something hard — bones, a pit, silverware that fell in without anyone noticing. Silverware is the classic, because nobody remembers dropping it.
Dead, with no sound at all.
Only about one in eleven, but it's the quickest to work through because you're just following the power backwards. Do it in this order and stop when it runs:
- The red reset button on the underside. Same button as above. This is the answer more often than anything else on the list.
- The breaker. Look for one that's tripped, and also for one that's sitting slightly off-center — they don't always snap fully across. Switch it hard off, then on.
- The outlet under the sink, if the unit is plugged in rather than hardwired. Plug a lamp or a phone charger into it. If that's dead too, the problem is upstream of the disposal and the wall switch is the usual suspect.
- The wall switch itself. Switches fail, and a disposal switch gets hit several times a day for twenty years.
If the outlet is live and the reset holds but nothing happens when you flip the switch, the motor windings are burned out. That's a replacement.
Draining slowly rather than jamming.
Nearly a third of the complaints are this one, and it usually isn't the disposal at all — it's the pipe under it. Fibrous and starchy food came up in about four in ten of the threads that named a cause: potato peel, celery, onion skin, rice and pasta. That material doesn't jam the plate. It gets ground into a paste, washes into the trap, and sets.
Before you take anything apart, there's a diagnostic that takes one flush. Fill the other bowl and pull the plug. If both bowls back up, the blockage is past the tee where the two sides join, and a disposal repair cannot help you. If only the disposal side is slow, the trap or the discharge tube below it is where to look.
One thing worth checking while you're under there, because it causes slow drainage that never goes away: InSinkErator specify that the discharge line must fall at least 1/4 inch per foot of run, with the drain connection lower than the disposal's outlet. A flat or uphill run leaves standing water sitting inside the unit between uses, and the manual is blunt about where that ends up — "premature corrosion or leaking." If someone has plumbed a dead-level run to reach an awkward trap, that's a real fault, not a quirk.
Don't pour caustic drain cleaner into a disposal. It sits against the metal and the seals instead of draining away, and if the unit is jammed it isn't going anywhere at all. If it later has to come apart, someone is putting their hands into that. It also turns a routine service call into one most plumbers will refuse.
What not to put down it.
This list is from the manufacturer's manual rather than folklore, and two entries surprise people:
- Clam and oyster shells.
- Glass, china, plastic, and metal — bottle caps and utensils especially.
- Hot grease or other hot liquids.
- Caustic drain cleaner, for the reasons above.
Run cold water, not hot. Cold keeps fat solid instead of letting it melt and re-set further down the line where nothing can reach it. That's a reason to run cold, not permission to put grease down the drain — it coats the pipe either way.
Replacing it yourself.
If the plate now turns freely by wrench and the motor still only hums, or water is coming from the bottom of the housing, the unit is done. A swap is within reach for most people, and one thing decides whether it takes forty minutes or ninety: whether the new unit fits the mount already in your sink.
Look up under the sink at what's holding the disposal in place. InSinkErator's residential range all share the same three-bolt mounting assembly, so an InSinkErator replacing an InSinkErator twists straight onto the existing hardware and you never touch the sink flange. Other makers use their own twist-lock mounts. If you're changing brand, check the mount type before you buy, because the alternative is pulling the old flange out of the sink, scraping off twenty years of hardened putty, and bedding a new one in.
If a dishwasher drains into the disposal, knock the inlet plug out before you connect the hose. A new disposal ships with that port sealed. InSinkErator's manual puts it plainly: connect the dishwasher without removing the plug and "the dishwasher may overflow." Lay the unit on its side, tap the plug through with a screwdriver, and fish the loose disk out of the housing with pliers — people forget that part and it ends up jamming the plate on day one. To check an existing unit, poke a pencil into the dishwasher inlet; if it goes in about three inches, the plug is already out.
Two more things from the manual that get done wrong:
- Plumber's putty goes on the sink flange and nowhere else. InSinkErator say not to use it on any other connection, and not to use thread sealant or pipe dope at all. The other joints seal on rubber and a compressed washer; putty on them causes the leak it was meant to prevent.
- Support the weight while you twist it on. A full-size unit is 12 to 20 pounds held overhead at arm's length in a cabinet. A stack of books or a paint can under it saves both the mount and your wrists.
Where to hand it over.
- Water is coming from the bottom of the housing and you'd rather not do the swap.
- The plate turns freely but the motor still hums or trips straight away.
- The unit is loose in the sink flange, or the sink is leaking around it.
- Both sink bowls back up when it runs — that's the drain line or the vent, not the disposal.
- Someone has already put drain cleaner down it and it's still blocked.
- The disposal is hardwired and the fault is on the electrical side of it.
Garbage disposal repair and replacement ↗ · What can actually go in a disposal ↗
Where the numbers come from: 178 homeowner questions about garbage disposals posted to public plumbing forums, scoped to threads where the disposal itself was the fault rather than sink drains or installs, and sorted by what each person described. Counts are shown where the group is small. They indicate what tends to go wrong, not how often it happens per household. Technical sources: InSinkErator jam-clearing and overload-reset support documentation; the InSinkErator FWD-1/FWD-2 installation, care and use manual for safety instructions, the prohibited-items list, the dishwasher inlet plug warning and the 1/4 inch per foot discharge pitch; and the InSinkErator Contractor 333 manual for the sealant and putty restrictions. Every procedure here was checked against those documents.